
Paper jams are a common occurrence when using printers, causing frustration and delays in your work. However, with a few simple steps and a little patience, you can quickly and effectively resolve paper jams. In this article, we will guide you through the process of fixing a paper jam in a printer, helping you get back to printing in no time.
Step 1 - Identify the Jammed Paper
The first step in fixing a paper jam is to locate the exact point where the paper is stuck. Most printers have a display panel that provides guidance, indicating the location of the jam. Additionally, you can look for visual cues such as crumpled or misaligned paper.
Step 2 - Power Off and Unplug the Printer
To prevent any accidental damage or injury, it is crucial to turn off the printer and unplug it from the power source before attempting to remove the jammed paper. This ensures the printer is safe to work with and minimizes the risk of any electrical mishaps.
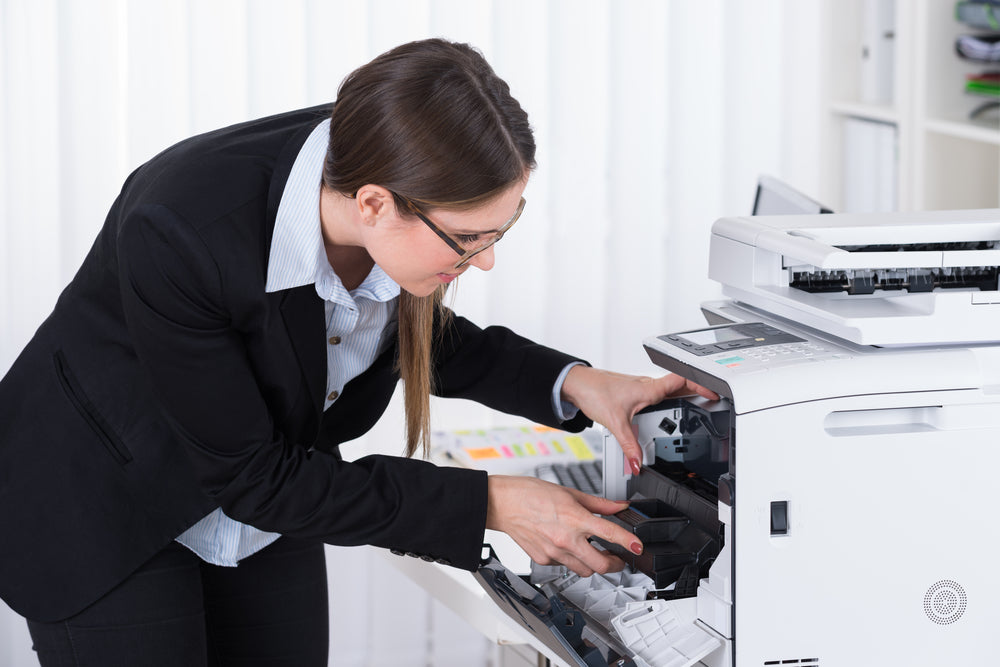
Step 3 - Open the Printer Cover
Carefully open the printer cover or any accessible compartments to gain access to the paper path. Some printers may have multiple access points depending on their design. Consult the user manual or manufacturer's instructions for your specific printer model if you are unsure about the access points.
Step 4 - Remove the Jammed Paper
Gently grasp the jammed paper with both hands and pull it out slowly and steadily. Avoid using excessive force, as this may cause the paper to tear, leaving small fragments behind. If the paper tears and any fragments remain inside the printer, carefully remove them to avoid future jams.
Step 5 - Check for Remaining Obstructions
After removing the jammed paper, inspect the printer's internals for any remaining obstructions. Look for small pieces of torn paper, staples, or any foreign objects that may have caused the jam. Use a flashlight if necessary to have a clear view of the printer's interior.
Step 6 - Clean the Printer Rollers
Paper jams can sometimes be caused by dirty or worn-out printer rollers. To ensure smooth paper feeding, clean the rollers using a lint-free cloth lightly moistened with water or a mild cleaning solution recommended by the printer manufacturer. Gently wipe the rollers and allow them to dry completely before using the printer again.
Step 7 - Close the Printer Cover and Test
Once you have removed the paper jam, closed all compartments, and ensured the printer is clean, close the printer cover securely. Plug the printer back into the power source and turn it on. Test the printer by printing a test page or any document to verify if the issue has been resolved.
Preventing Future Paper Jams
To minimize the occurrence of paper jams, consider the following preventive measures:
- Use high-quality paper that is suitable for your printer.
- Store the paper in a cool, dry place to avoid moisture absorption.
- Ensure the paper is properly aligned in the tray and not overloaded.
- Regularly clean and maintain your printer according to the manufacturer's guidelines.
- Avoid using damaged or wrinkled paper, as it can cause feed issues.
Key Takeaway
Paper jams can be an inconvenience, but by following the steps outlined above, you can quickly and effectively resolve them. Remember to exercise caution, be patient, and consult your printer's user manual or the manufacturer's website for specific instructions related to your printer model. With a little troubleshooting, you'll be back to printing smoothly and efficiently in no time.
When it comes to your printing needs and maintenance, why settle for anything less than reliable and efficient solutions? Consider Reliable Workplace Solutions as your trusted partner in keeping your printers running smoothly. With our expertise and dedication, we offer a wide range of printers and services tailored to meet your unique requirements. Don't let paper jams and printing issues disrupt your workflow any longer. Contact us today and experience the difference of Reliable Workplace Solutions for yourself.